Dehydrating Food
For A Backpacking Trip
Dehydrating food is a handy skill to have if you're planning a backpacking trip. When you have to carry all of your food on your back, you want that food to weigh as little as possible.
You can buy packages of dehydrated food at your local camping store or online. Some varieties are quite tasty.
Buying dehydrated food is expensive, though.
If you're on a budget, why not dehydrate your own? Dehydrating food is easier than I thought!

CLAM Pop Up Screen Tent
Keep the bugs out with this pop up tent! Quick to set up and water resistant.
Read more at Amazon here and find the best price!!
“As an Amazon Associate, we earn from qualifying purchases.”

Dehydrating food
Get a food dehydrator
If you're lucky enough to have a friend with a dehydrator, see if you can borrow it. It's nice to try out a new skill before investing in the equipment!
I borrowed a dehydrator similar to this one from my neighbor.

You can read more and purchase the above dehydrator HERE.
Prepare your ingredients
This might involve slicing or chopping.
Place the ingredients on a dehydrator tray
If your pieces are very small, put a mesh screen on the dehydrator tray before adding the ingredients. (The screen should be included with the dehydrator.)
If you are drying a liquid, put a plastic sheet on the tray. (It's part of the package, too.)
Put the trays in the dehydrator and turn it on
Adjust the temperature setting.

Some dehydrators have a setting for fruits and vegetables, and one for meats. On others, you can set the exact temperature you want. (Read the manual for instructions.)
Wait until all of the moisture has been removed
This will take many hours.
My first try at dehydrating food:
Chili
I first learned about dehydrating food one summer when we planned a backpacking trip with three other families. There were 12 people in total, and we decided to do potluck meals. I was assigned a dinner. I decided to make chili.
Now, there's no way I could carry chili for 12 people unless I dehydrated the ingredients. I was a bit intimidated, having never done this before, but I decided to give it a try.
I borrowed a dehydrator from my neighbor, did some research, and set to work. It was surprisingly easy to do!
How To Make Backpacking Chili
Choose a recipe and make a list of the ingredients to dry
I didn't use a recipe. I've made chili often enough that I know what I like to put into it.
Here's what I used:
- ground beef
- onions
- carrots
- beans
- tomatoes
- tomato sauce
- chili powder
Calculate the amount of ingredients you'll need
I figured out how much I'd need to make a batch of chili for each family, multiplied that by four, and set to work.
Dehydrate each ingredient
Ground beef
Dehydrating the ground beef was the trickiest part, since every speck of grease needed to be removed.

I did it, though! Click here to read about dehydrating the meat.
Onions
I'd read that onions should be sliced for dehydrating. I wondered why "slice" and not "mince" or "chop" the way I usually do for chili. Once they were dried, I understood. The slices of onions had turned into tiny slivers. If I had minced the onions, they would have been much too tiny and would have fallen through the cracks in the dehydrator tray.
Carrots
I chopped the carrots and placed them in the dehydrator.

They dried beautifully.
Here's what they looked like when they were done:

Beans
I had planned to soak and cook my own beans, but I ran out of time. I used canned pinto beans instead. I just drained them and spread them on the dehydrator.

They dried easily. Here is the finished batch.

Tomatoes
Here's where it got tricky.
I used canned diced tomatoes. I drained them and spread them on the dehydrator's plastic sheet attachment.
They took a very long time to dry. Actually, they never did completely dry. When some were nicely dehydrated, others were still moist.

It was difficult to scrape the tomatoes off the plastic sheet. I discarded the moist parts and packed just the dry bits.
Tomato sauce
This didn't work very well either.
The trick with tomato sauce is to spread it out completely evenly. As you can see, I didn't do that.

Of course, the thicker parts were still damp when the rest was dry. I didn't have time to wait for the thick bits, so I discarded them.
It was easy to tell when the sauce was ready.

The dry pieces snapped when I bent them - just like a potato chip.
Since I had to throw some out, I worried that the chili wouldn't be tomatoey enough and decided to pack a can of tomato paste too.
Pack the remaining ingredients
Don't forget the chili powder!
I like to sprinkle cheese on my chili. I didn't dehydrate the cheese. (I wonder if that's possible?) I grated it at home and packed it in a ziplock bag.
Packing the ingredients
I put each element in a zip lock bag.

I placed the bags in a small stuff sack.
The stuff sack weighed only 800 grams!
I was a bit worried. Would this really make enough food to satisfy a group of 12 people?
Cooking the Chili
When dehydrating food and then cooking it, it's important to completely rehydrate everything. No one wants to find crunchy or indigestible bits in their supper!
I wanted to use as little fuel as possible, so I planned to soak the chili ingredients in hot water for an hour before beginning to cook.

However, we got back late from our hike that day, and everyone was hungry - so I just boiled a pot of water, added the ingredients and let it simmer.
To my surprise and relief, it quickly began to look like chili!
And it was delicious!
Lessons learned about dehydrating food
Don't try to dehydrate tomato sauce
The tomato sauce took forever to dry, it didn't dry evenly, and it smelled up the house! I began feeling ill after 10 hours or so of smelling its aroma.
In the future, I'll just carry a can or two of tomato paste.
Perhaps with more experience I'd learn to dry tomato sauce correctly - but I don't think I'll bother. Canned tomato paste isn't that heavy!
Don't try to dehydrate canned tomatoes
I am going to do some more experimenting with tomatoes. Perhaps I'll slice fresh tomatoes and put the slices in the dehydrator. That way I can be sure that the slices are uniform and will dry evenly.
Put the dehydrator somewhere away from the main living area
A dehydrator is noisy. It generates heat. The ingredients will smell. I got tired of it after just a few hours.
If you have a basement or a garage, put the dehydrator there.
Make more than you think you'll need
We were all hungry from the fresh air and exercise, and there wasn't quite enough chili to satisfy everyone. I'm not sure exactly why.
Did I discard more of the tomatoes than I thought I did?
Does dried food not rehydrate to its original volume?
Maybe we were just extra hungry.
OR a mixture of ALL THREE!

Either way, my new rule is to bring more than I think we'll need. When you are backpacking, you eat a lot!
Next time, I would increase the amounts by one third. The ingredients were so light that carrying more would have been easy.
Plan ahead
It took several days to dry all of these ingredients! This is not something you can do at the last minute.
If you discover that you love dehydrating food, and you plan to do a lot of it, you may want to invest in a really good dehydrator. This model gets excellent reviews on Amazon. People appreciate that it has a timer, that it is quieter than other models, that it is easy to clean - and, of course, that it is easy to use and works really well!

For more information on the above dehydrator and to order CLICK HERE.
The bottom line
Dehydrating food is not as hard as I thought it would be.
Dehydrating the ingredients for chili took a long time, since there are so many ingredients.
Carrying the dried ingredients was delightful. They were so very light!
The chili was delicious. It was the perfect meal on a cold day.
Now that you know about dehydrating food, check out all of my camping food ideas.
You'll find loads of information about planning a camping trip on The Camping Family home page.

Most Popular
Product of the Month

Lost Horizon Camping Mattress
Self-inflating & all-season comfort!
CLICK HERE for more information and best price
Recent Articles
-
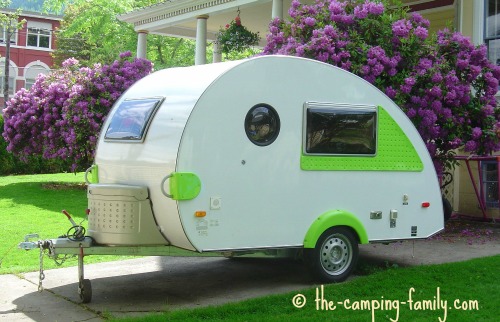
Teardrop Trailers: The Ultimate In Small Lightweight Travel Trailers
Jun 21, 25 12:59 PM
 Enjoy a trip in one of these tiny teardrop trailers - even if your family is too big to enjoy one, they are great for couples!
 -
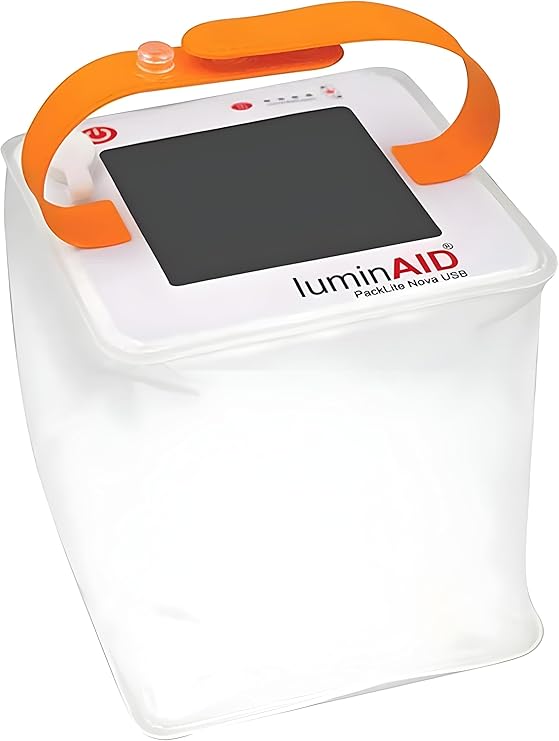
Which Are The Best Solar Lanterns For Camping? Find Out Here!
Jun 21, 25 06:45 AM
 We review the best solar lanterns for camping to find out which ones you should consider. There are several lanterns that are excellent!
 -
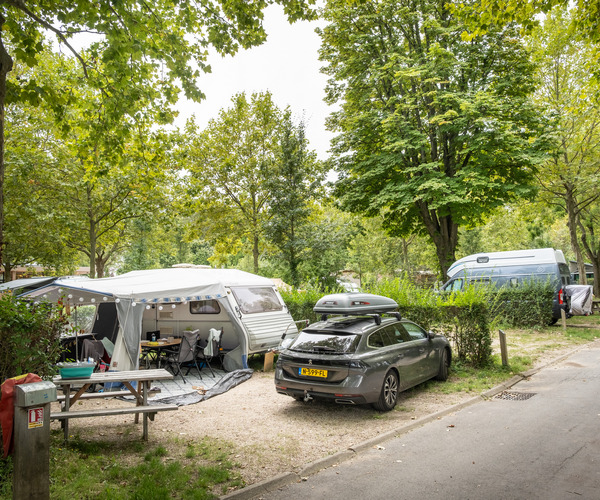
Camping Sites Near Paris France - Which One Should You Choose?
Jun 20, 25 05:00 AM
 Find out which camping sites near Paris France are the best, and discover the camp sites near Paris to avoid!
